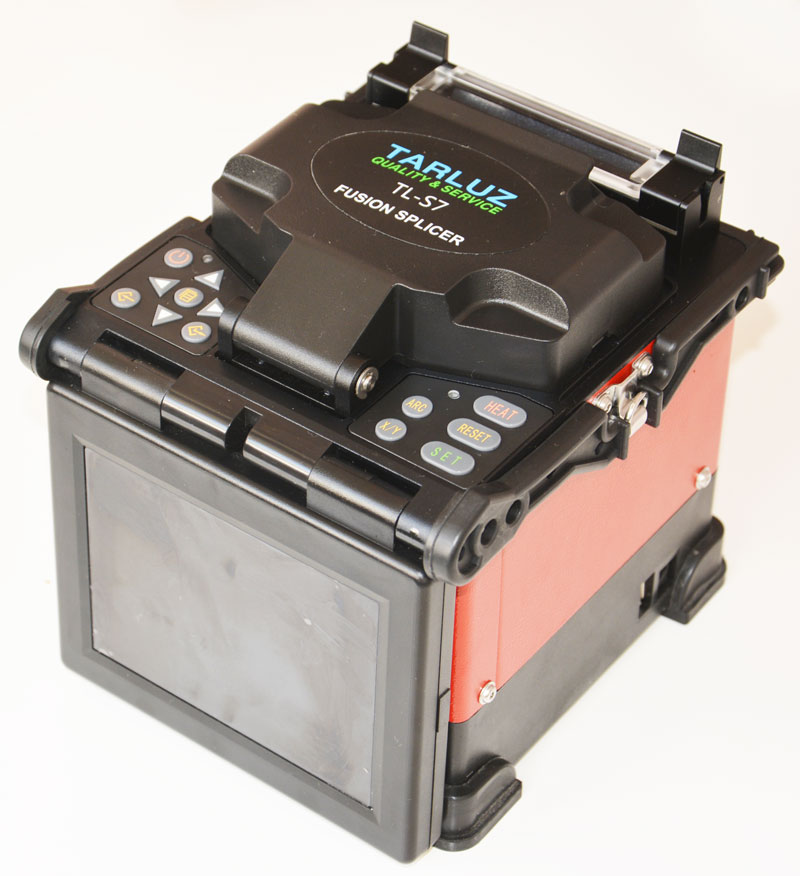
I. Preparing
1) Verify that the machine is plugged in power or the battery capacity is enough; then press ![]() and hold the key
and hold the key  until TL-7S fusion splicer booted.
2) In the standby mode, press ![]() to enter “Splice Menu” menu. Move the cursor to [Operation Options]; press to enter. Set [Auto Start] [pause 1], [pause 2] respectively as “ON”, “OFF”, “OFF”.
to enter “Splice Menu” menu. Move the cursor to [Operation Options]; press to enter. Set [Auto Start] [pause 1], [pause 2] respectively as “ON”, “OFF”, “OFF”.
3) Discharge Calibration*
Discharge calibration is needed because constant changing of atmospheric conditions such as temperature and pressure, and the long service of the machine creates variability in the arc temperature and position.
Steps of discharge calibration:
In the [Ready] mode, press to ![]() enter “Splice Menu” menu.
enter “Splice Menu” menu.
Then prepare and place fiber according to the method described in fiber preparation. Close the wind protector. Press ![]() to enter [Arc Calibration]. Discharge calibration automatically starts. The user is recommended to repeatedly prepare and place fiber in discharge calibration interface, until the “Step II of discharge calibration completed” message is displayed for three times.
to enter [Arc Calibration]. Discharge calibration automatically starts. The user is recommended to repeatedly prepare and place fiber in discharge calibration interface, until the “Step II of discharge calibration completed” message is displayed for three times.
Note: * Discharge calibration is needed only arc power fluctuates strongly; it is not necessary upon boot every time. After discharge calibration is completed, the machine will adjust the arc discharge current according to the Calibration results to ensure fusion quality.
II. Fiber preparation
1) Put the tube over one end of the fiber.
2) Use fiber stripper to strip fiber coating layer, the length of which is 30 ~ 40 mm. Use gauze dipping with alcohol or wadding to wrap the fiber, and then clean the bare part.
3) Use a fiber cleaver to cut the fiber. Bare fiber length is 16 mm around.
4) Put the finished fiber in the Fusion Splicer. Cross-section of fiber cannot touch other things.
III. Cover the wind protector, then the fiber fusion automatically starts and the splicing loss is displayed.
IV. Reinforce the fusion point.
1) Transfer fiber with protection sleeve from V-grooves to tube heater;
2) Make sure the splice point is located at the center of the protection sleeve.
3) Put the tube at the center of the heater.
4) Press ![]() to start tube heating. The buzzer beeps and the HEAT LED turn off when tube heating is completed.
to start tube heating. The buzzer beeps and the HEAT LED turn off when tube heating is completed.
5) Remove the tube from the heater when the heater is cool. The whole process of Fusion Operation is completed.
V. Repeat Step II, III and IV to continue splicing.